For small fish sections and compact baitfish, a strong single hook is a straightforward starting choice. For whole deadbaits, a small treble or a combined single-and-treble rig helps position exposed hook points where they can work. Choose the arrangement around the bait and its presentation, then select the hook size.
The important details are easy to check at the waterside: the bait stays secure, the hook gape remains clear and the trace allows it to sit straight. This guide explains how to choose between singles, doubles and trebles for European zander, match them to livebait or deadbait, and correct the mounting problems that cause missed bites.
Match the Hook to the Bait First
Begin with the bait you intend to use. A slim bleak, a deep-bodied roach and a cut fish section place different demands on a hook, even when they are similar in length. The hook needs enough gape (the space between its point and shank) to clear the part of the bait through which it passes.
Small baitfish around 8–12 cm long, roughly 3–5 inches, provide a useful starting point for general zander bait fishing. With a single hook, choose a size that leaves the point and enough of the bend exposed after mounting. With a treble, use one point to hold the bait and keep the other two clear. If the bait fills the bend or presses against the working points, change the size or mounting position.
Use the following table as a starting guide. Make the final choice with the bait and hook together, because bait thickness and hook dimensions matter as much as the length of the fish.
| Bait or presentation | Starting hook choice | Check before fishing |
|---|---|---|
| Small fish strip or compact section | Single size 4–2 | The bait leaves the point and gape clear |
| Slim baitfish around 6–8 cm | Single size 4–2 or treble size 10–8 | The hook holds securely without overwhelming the bait |
| Whole baitfish around 8–12 cm | Single size 2–1 or treble size 8–6 | The mounting position exposes the working points |
| Longer deadbait around 12–15 cm | Appropriately spaced combination rig or small two-treble trace | The hooks cover the bait without bending it |
These are alternative arrangements, not equivalent hook sizes. A size 2 single and a size 8 treble perform different jobs and should not be compared by their numbers alone.
Hook numbering also needs care. A size 10 is smaller than a size 6, while sizes above 1 move into the /0 series, where a 2/0 is larger than a 1/0. These numbers are not precise measurements: compare the actual gape and wire thickness when changing brands or patterns. With unequal doubles, inspect the smaller retaining hook and the larger working hook separately.
A larger zander does not automatically require a larger hook. A sound, strong small hook can land a substantial fish when the tackle is balanced. Increase hook size to suit the bait and presentation rather than simply because you hope to catch a bigger fish.
Single Hooks, Trebles and Doubles: What Each Does Best
The most useful distinction is how each arrangement presents the bait and exposes its working points. A single keeps the presentation simple; a small treble offers several point orientations; a combined rig separates bait retention from the main hooking point. Choose the arrangement that suits the job.
Single Hooks for Small Baits and Simple Presentations
A single hook is a good choice for small fish sections and compact whole baits that can be mounted without masking the point. It is straightforward to bait, carries less metal than a comparable multi-hook arrangement and is usually easier to remove.
Choose an eyed, round-bend or moderately wide-gape pattern with sufficient strength for predator fishing. A medium-length shank is a useful all-round option. An exceptionally long shank is unnecessary for lip hooking and adds bulk without improving the position of the point.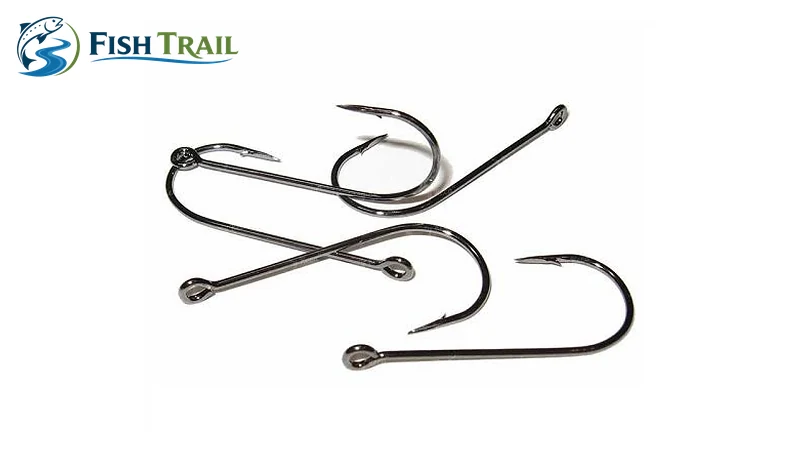
The limitation is coverage. One exposed point occupies a small area of the bait, so its position matters. If a thick bait buries the hook or leaves the point tight against the flank, remount it or use a more suitable arrangement. Do not compensate by waiting for the zander to swallow it.
Small Trebles for Whole Deadbaits
A small predator treble is useful when you want exposed points close to the surface of a whole deadbait. Mount one point shallowly into firm skin and leave the other two unobstructed. Pushing the whole treble into the fish defeats the purpose of using it.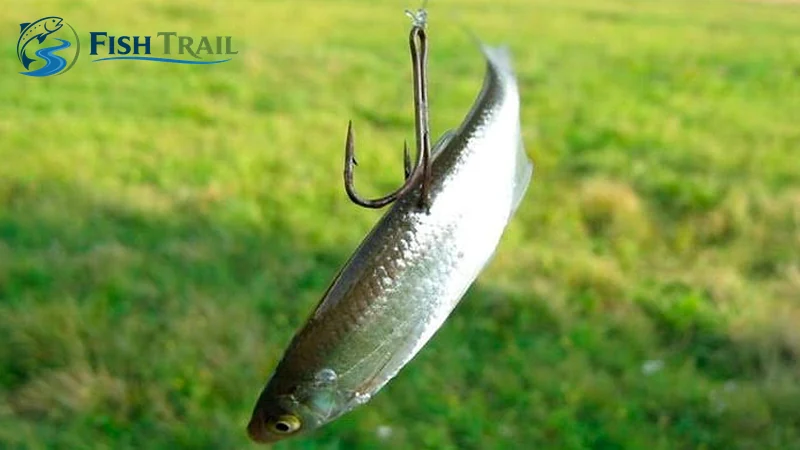
Choose a predator pattern with adequate strength rather than an ultralight treble intended for a tiny lure. The aim is to keep the presentation compact while retaining enough strength to control a fish on the tackle you are using.
One treble suits some small baits; a longer bait benefits from a carefully spaced arrangement. Adding hooks indiscriminately creates more opportunities for tangles and awkward unhooking. Check whether the working points are well placed before deciding that another hook is necessary.
A Single Hook and Treble for Separate Jobs
A combined rig uses a single hook to hold the bait and a small treble to provide exposed hooking points farther along its body. This is particularly useful with whole deadbaits that are awkward to secure and cover neatly with one hook.
One established zander arrangement places the bait’s head towards the swivel, with the retaining single through the mouth and the small treble mounted shallowly in the shoulder or forward flank. Leave the treble’s unused points exposed. Adjust the spacing to the actual fish so that the bait lies straight, without a loose loop of trace or enough tension to bend its body.
A well-made ready-tied rig is a sensible starting point if you are unfamiliar with attaching hooks to wire. Check its intended bait size and lay it alongside your deadbait before mounting. Fixed spacing that suits one fish can be completely wrong for another.
Double Hooks for Particular Mounting Styles
A double hook remains useful when its shape suits the way you mount a bait. Unequal doubles, with a smaller retaining hook and a larger working hook, offer a neat way to separate those functions within one fitting.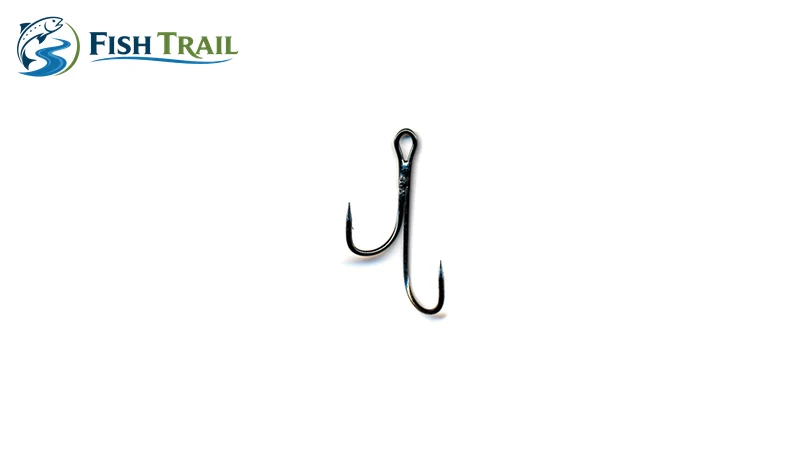
Its value comes from the position of the exposed point, the strength of the pattern and how securely it carries the bait. Use a double when it produces a clean presentation with the working point clear. There is no need to add one to your tackle box simply to complete the set.
Position the Hooks So They Can Work
Good mounting holds the bait through the cast while leaving the working points exposed. Before casting, lift the finished rig and look at it from both sides. The bait should sit straight, the trace should run cleanly and no loose skin, elastic or scales should cover the points.
For a small deadbait on a single hook, use a firm mounting point around the head or tail root that suits the intended presentation. For a cut section, take a secure hold through skin rather than relying on soft flesh alone. Keep the hook bend clear instead of threading a large piece of fish along the shank.
With a treble, put just one point into the bait. If the skin tears readily, secure the bait with a modest amount of bait elastic around the mounting area. Keep the elastic away from the exposed points and avoid wrapping it around the whole treble.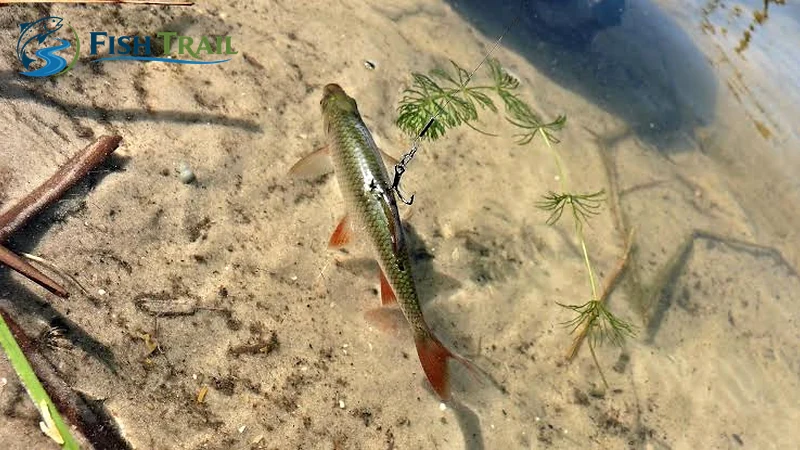
On a combined or two-hook rig, set the spacing before pushing the hooks home. Pulling the fittings apart afterwards tears the bait and encourages it to curl. Use a smooth cast that suits the bait’s firmness; a soft deadbait will not withstand the same acceleration as a firm one.
For livebait, where permitted, mounting must also suit the way the fish is presented:
- In current: a light upper-lip attachment keeps the bait facing into the flow without clamping both jaws together.
- Under a float in still water: a shallow skin hold near the dorsal area allows a more horizontal presentation; keep clear of the spine.
- With either method: minimise handling and use a gentle lob rather than a forceful distance cast.
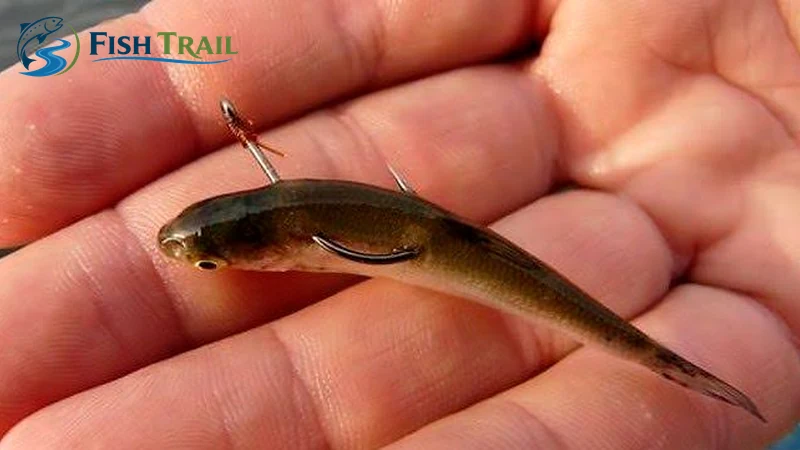
For collecting and keeping suitable bait in good condition, see our guide to catching baitfish. Check the rules for the particular water before using livebait, freshwater deadbait or multiple hooks: permitted methods vary across Europe.
Choose Wire and Hook Strength Together
Where pike share the water, use a suitable wire trace for livebait and deadbait fishing. A small zander bait also attracts pike, and reducing the bait size does not remove that risk. Supple multistrand wire provides a useful balance of flexibility and bite protection.
A trace around 45 cm long in roughly the 25–35 lb class is a practical starting point for many small-bait presentations. Follow any stronger or longer trace requirement imposed by the fishery, and make sure the hooks, swivels and connections match the rest of the tackle. Inspect the wire after a fish or snag and replace damaged, frayed or badly kinked traces.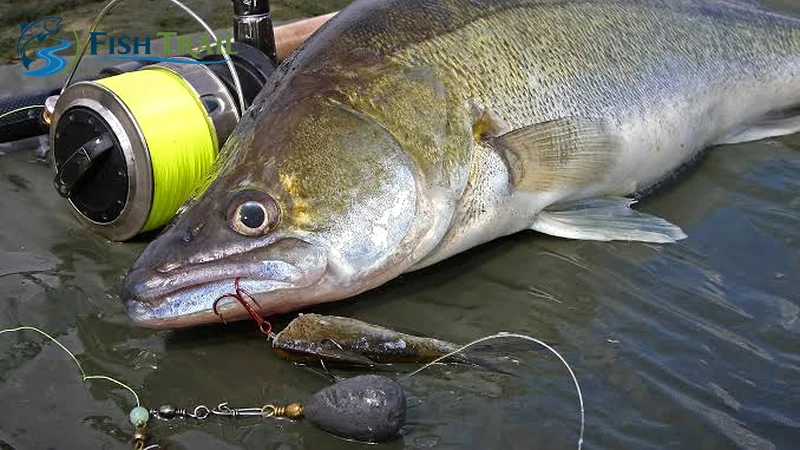
Choose strong hooks without automatically reaching for the thickest wire available. Very heavy hooks add weight to small baits and demand more force to penetrate. At the other extreme, delicate hooks that straighten under the pressure needed to control a predator are unsuitable.
Look for a cleanly formed eye, a consistent bend and a straight, undamaged point. Check sharpness before fishing and after contact with stones or snags. Replace a rolled or broken point rather than trusting it because the hook was sharp when it came out of the packet.
Barb choice must follow the venue’s rules. On a semi-barbed treble, one barbed point retains the bait while the other two points are barbless. Fully barbless hooks still need secure bait mounting, but bait elastic should hold the fish in place without covering the points.
Missed Bites: Fix the Presentation Before Adding Hooks
When bites fail to connect, inspect the returned bait before changing the whole rig. Its condition often reveals a more useful adjustment than immediately adding another treble.
| What you find | What to change |
|---|---|
| Hook point buried in skin or flesh | Remount shallowly and clear the working gape |
| Bait curled around the trace | Reset hook spacing and check for tangles |
| Fish sections repeatedly pulled off | Take a firmer skin hold or secure the mounting area with bait elastic |
| Bait damaged well away from the hook | Use a smaller bait or reposition the working hook |
| Repeated dropped indications | Check that the running rig moves freely and the line is not trapped or tangled |
Keep bite indication sensitive enough to show movement towards you as well as away from you. A zander does not have to pull yards of line to have taken the bait, so watch drop-backs and short, positive movements as carefully as obvious runs.
With exposed-hook predator rigs, respond promptly to a positive take. Pick up the rod, recover slack and make a firm, controlled strike. Do not wait for a second run or count down to give the fish time to swallow the bait. If bites are missed, improve hook exposure, bait size and indication rather than extending the delay.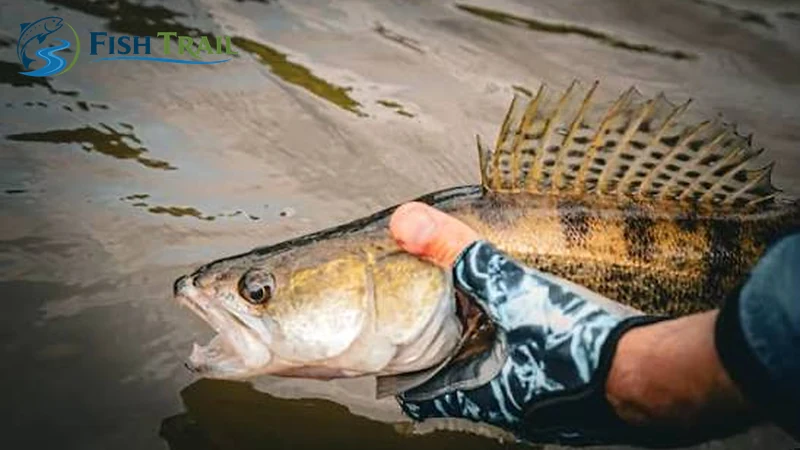
Start with a strong single for a compact bait that leaves its point clear. Choose a small treble or combined rig when a whole deadbait needs a better-positioned hooking point. Before casting, check the bait hold, exposed points and trace condition; once a positive take develops, respond promptly rather than waiting for the fish to swallow the bait.