
Winter fishing can be full of surprises. One moment you are patiently working your lure beneath the ice, and the next a perch, roach, or bream takes the bait. The last thing you want at that moment is to lose your fish because of a poorly tied knot.
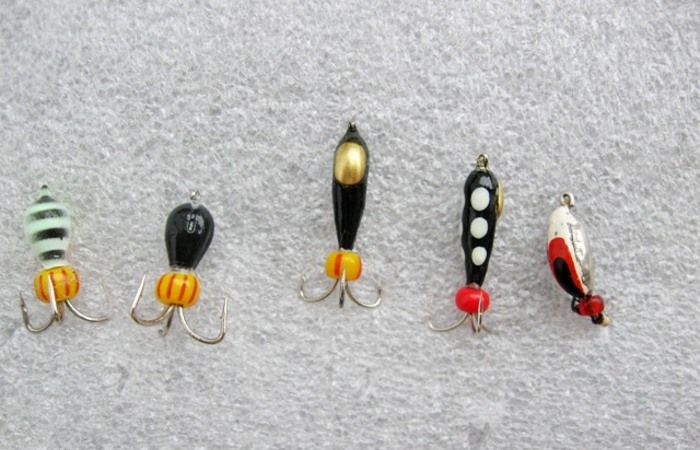
The mormyshka is one of the most effective small lures used in winter fishing across many parts of Europe. This compact weighted hook comes in different shapes, sizes, and colours. It can be fished with natural bait or worked on its own to imitate the movements of tiny aquatic creatures. Bloodworms are a popular bait for winter mormyshka fishing. If you use live larvae, check our guide on how to store bloodworms at home to keep them fresh throughout your fishing session.
However, a mormyshka is only as dependable as the connection between the lure and your fishing line. A poorly tied knot can slip, weaken the line, or cause the lure to hang at the wrong angle.
Fortunately, learning how to tie a mormyshka is not particularly difficult. In this guide, we will demonstrate two practical ways to attach a mormyshka using a simple clinch knot. Both methods are straightforward, but each is designed for a different type of lure.
Understanding the Two Types of Mormyshka
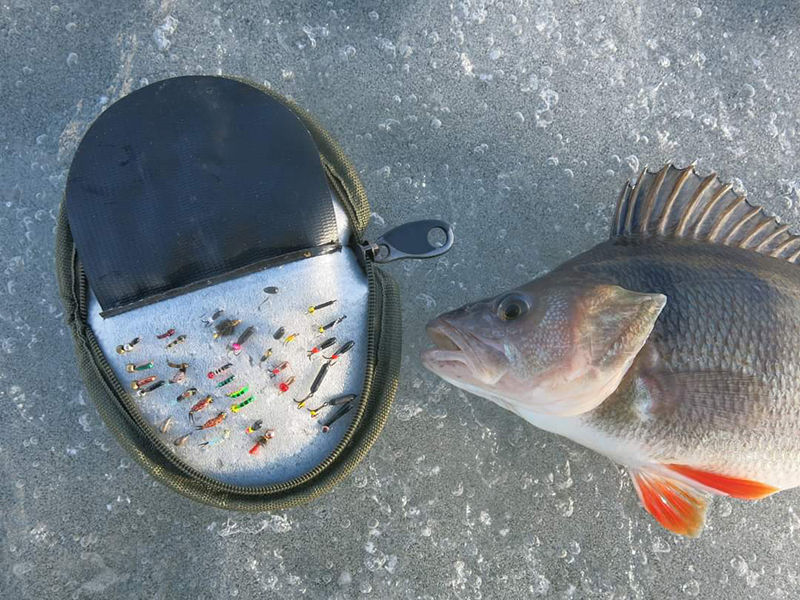 Before tying your knot, take a close look at the mormyshka itself. The correct method depends on how the fishing line attaches to the lure.
Through-body mormyshka: This type has a small hole running directly through its weighted body. There is no exposed attachment eye. The line passes through the body, and the knot is secured around the hook shank.
Eyed mormyshka: This version has a visible hook eye, either extending from the body or partially embedded in it. The fishing line is passed through the eye, and the knot is tightened against it.
Both designs are widely used. Neither requires complicated equipment, but it is important to follow the correct threading and knot-tying sequence.
Method 1: How to Tie a Mormyshka with a Through-Body Hole
This method is suitable for mormyshkas where the fishing line passes through the body rather than an external eye.
The main difference from a conventional clinch knot is that the completed loop is placed over the hook shank before tightening.
Step 1: Thread the Line Through the Mormyshka
Hold the mormyshka firmly between your fingers and locate the hole running through its body.
Pass the fishing line through the hole from the side facing the hook point, rather than from the opposite side of the lure.
This detail is important because the direction in which the line enters the body influences how the mormyshka hangs after the knot has been tightened.
Pull a comfortable length of line through the hole so you have enough free line to work with.
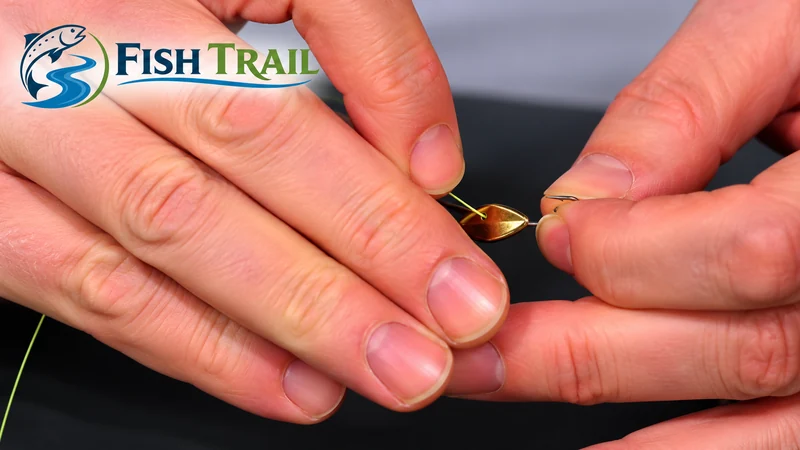
Step 2: Move the Mormyshka Along the Line
Slide the mormyshka a little further up the line, leaving sufficient room to form the knot.
Do not try to work directly against the tiny lure. Having some space between the mormyshka and the area where you are forming the knot makes the next steps much easier.
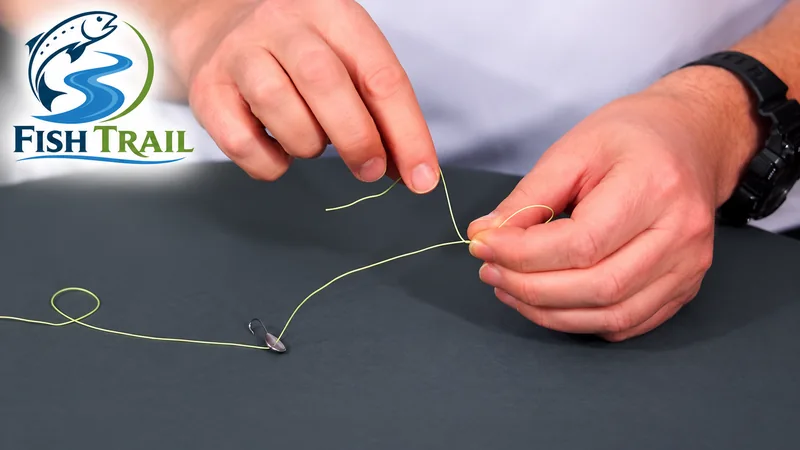
Step 3: Form a Loop and Make Five Turns
Take the free end of the line, also known as the tag end, and form a loop alongside the standing line.
Hold the loop between your thumb and forefinger to prevent it from closing.
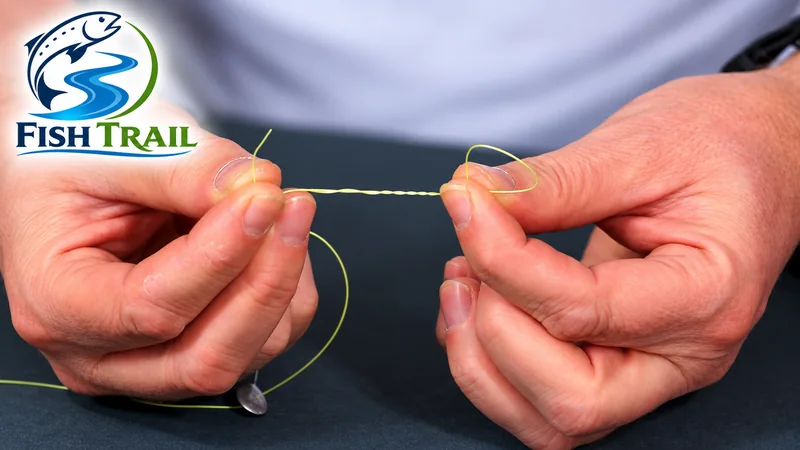
Now wrap the tag end around the standing line five times.
Try to keep the turns neat and close together, without allowing them to cross over one another.
These five wraps form the main gripping section of the clinch knot.
Step 4: Pass the Tag End Through the Loop
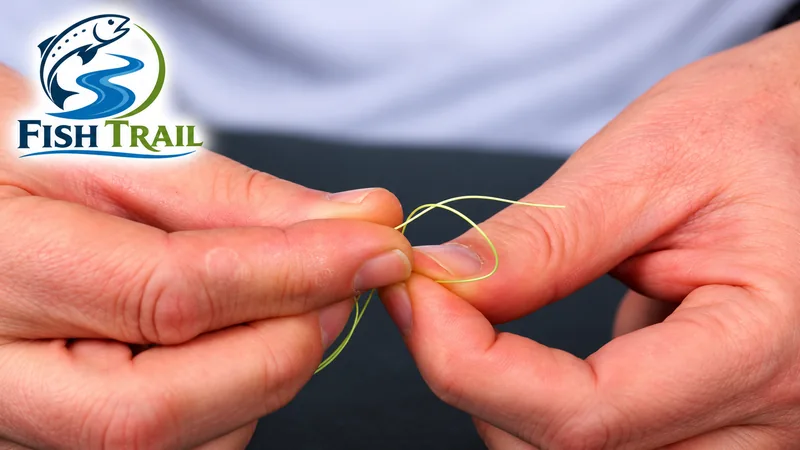
Once the five turns are complete, locate the small loop you formed at the beginning.
Carefully feed the tag end through this loop.
Do not tighten the knot completely at this stage. You still need an open loop to secure it around the hook shank.
Step 5: Place the Loop Over the Hook Shank
This is the most important part of the method.
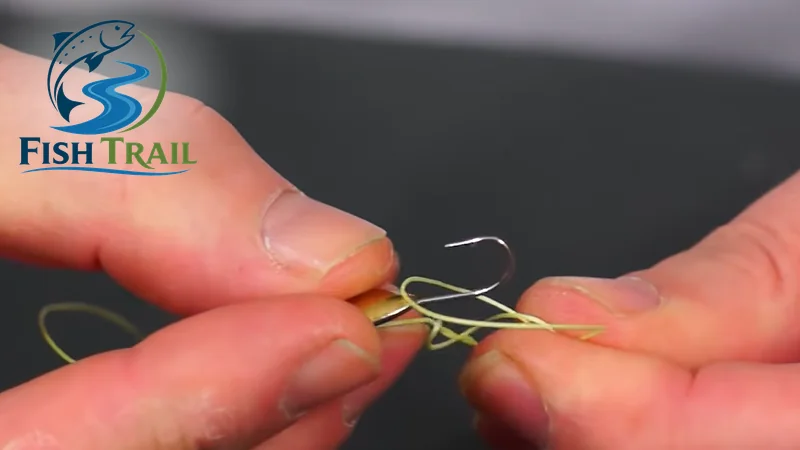
Take the open loop and carefully slip it over the hook point, then move it onto the shank of the mormyshka.
Make sure the loop sits correctly around the shank rather than catching on the hook point or remaining loose beneath the lure.
The knot is now positioned to secure the mormyshka.
Step 6: Moisten and Tighten the Knot
Before tightening, moisten the line with a little water or saliva.
Gently pull the standing line and tag end to draw the wraps together, then seat the knot firmly around the hook shank.
Avoid pulling sharply. Tightening a dry knot too quickly creates friction that can weaken the line, particularly when using fine monofilament.
Check that the knot is compact, with no crossed or loose turns.
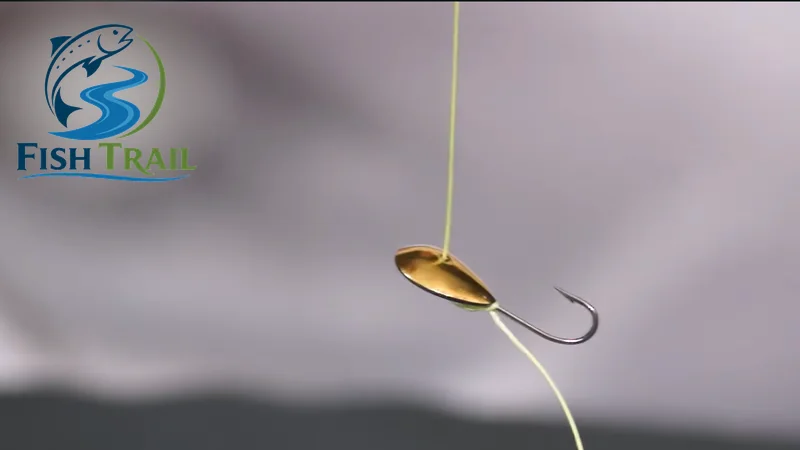
Step 7: Trim the Excess Line
Once the knot is fully tightened, trim the remaining tag end using sharp scissors or a suitable line cutter.
Leaving approximately 2-3 mm of line beyond the knot provides a small safety margin.
Finally, pull gently on the main line to check that the connection holds securely.
The through-body mormyshka is now ready to fish.
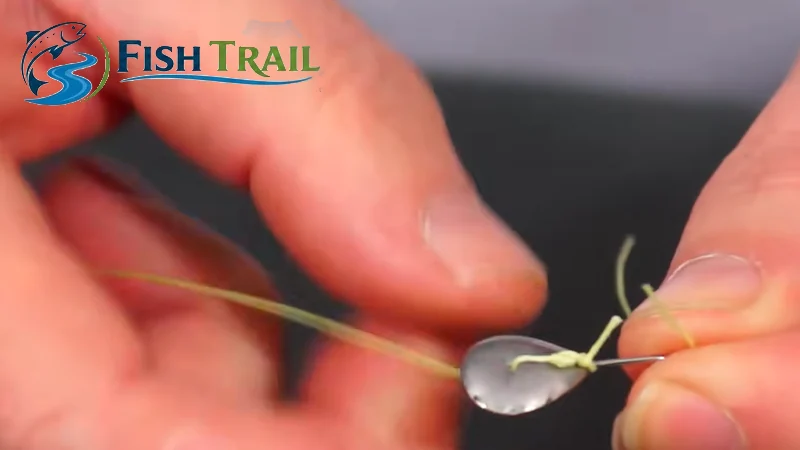
Method 2: How to Tie a Mormyshka with an Eye
The second method is used for mormyshkas with a visible attachment eye.
Unlike the previous method, there is no need to place a loop over the hook shank. Instead, the clinch knot is tied directly to the eye.
This is the conventional way of tying a simple clinch knot and is useful for many other types of fishing tackle.
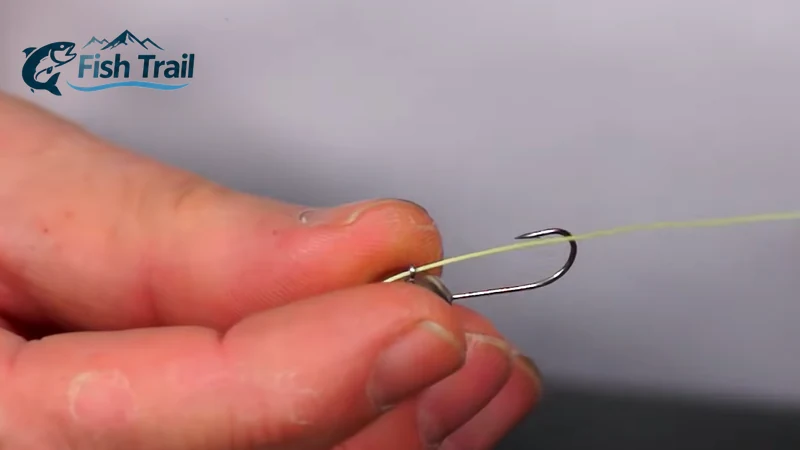
Step 1: Pass the Line Through the Eye
Hold the mormyshka securely and insert the tag end of the fishing line through its eye.
Pull enough line through to give yourself room to work.
If the eye is particularly small, take your time to avoid bending the hook or damaging the line.
Step 2: Make Five Wraps Around the Standing Line
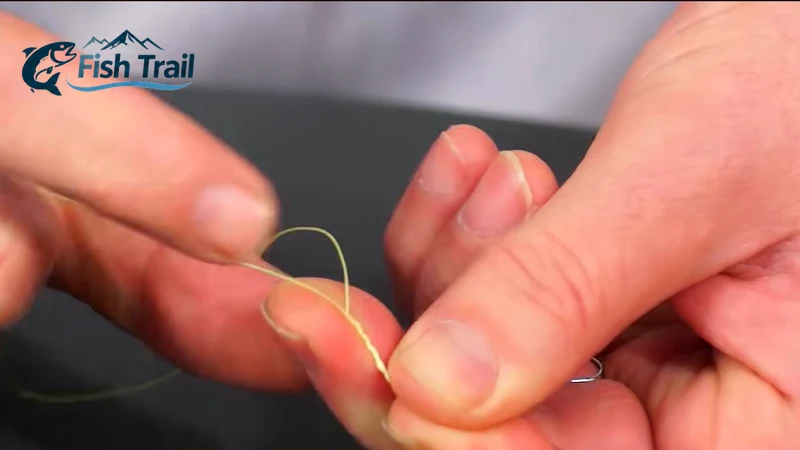
Bring the tag end back alongside the standing line.
Wrap it around the standing line five times, working away from the eye.
Hold the wraps gently between your fingers as you work. This will stop them from unravelling.
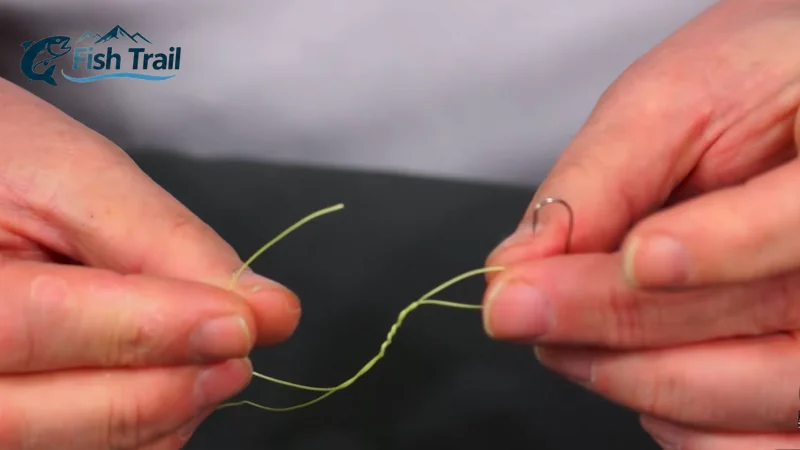
You should now have five neat turns and a small loop just above the eye of the mormyshka.
Step 3: Thread the Tag End Through the Small Loop
Take the free end of the line and pass it through the small loop immediately above the hook eye.
Make sure the line passes completely through the opening.
At this point, the basic clinch knot has been formed, but it has not yet been tightened.
Step 4: Moisten the Knot
Wet the knot thoroughly before pulling it tight.
This simple step reduces friction as the coils move into position and helps protect the fishing line from unnecessary damage.
It is especially important with the thin monofilament lines often used for mormyshka fishing.
Step 5: Tighten the Clinch Knot
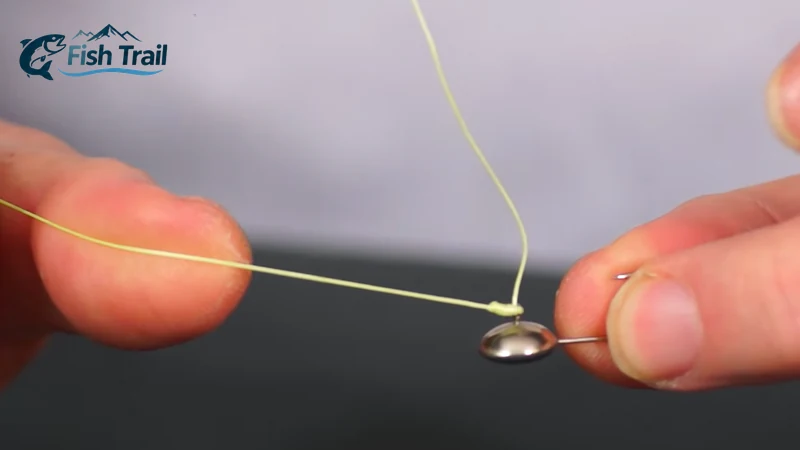
Slowly pull the standing line to draw the coils towards the eye of the mormyshka. Control the tag end as necessary to help the wraps tighten evenly. The coils should settle neatly against the eye without overlapping or twisting.
Once the knot is seated, give the connection a firm but controlled pull to check that it does not slip.
Step 6: Trim the Tag End
Cut away the excess line, leaving approximately 2-3 mm beyond the knot.
Check the knot one final time.
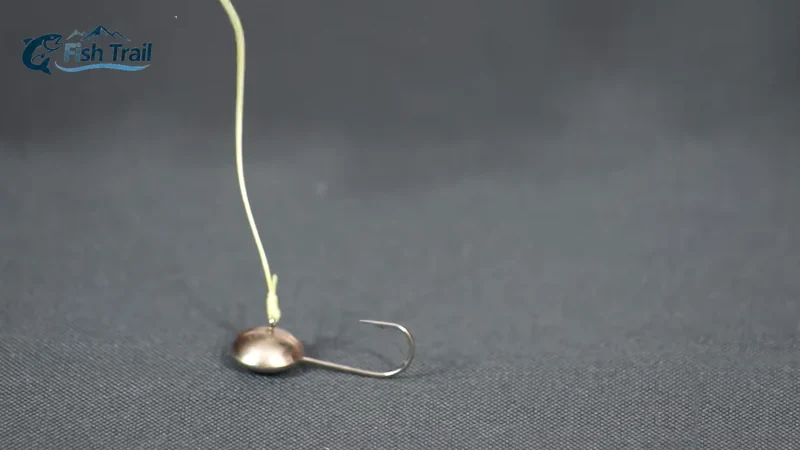
Your eyed mormyshka is now securely attached and ready for fishing.
How to Prevent Line Damage When Tying a Mormyshka
Learning the correct knot is only part of the process. A few small details can make a considerable difference to the reliability of your tackle.
Always Moisten the Knot Before Tightening
When a knot is tightened, the coils move against one another and create friction. On fine fishing line, this can cause localised damage and reduce the strength of the connection. Moistening the knot reduces friction and allows the coils to settle more smoothly.
Do this every time you tie a clinch knot, whether you are fishing through the ice or using light tackle in open water.
Check the Hole for Sharp Edges
This is particularly important with through-body mormyshkas. Some weighted lures have holes with rough or sharp edges. When the line passes directly through such an opening, repeated movement can gradually weaken it. Inspect the hole before tying your lure.
If the edges are rough, consider using a mormyshka with a properly finished, smooth opening. Where the design allows, a short section of suitable soft protective tubing can also help prevent the line from rubbing directly against the metal.
Do not force tubing through an opening that is too small.
Make Sure the Mormyshka Hangs Correctly
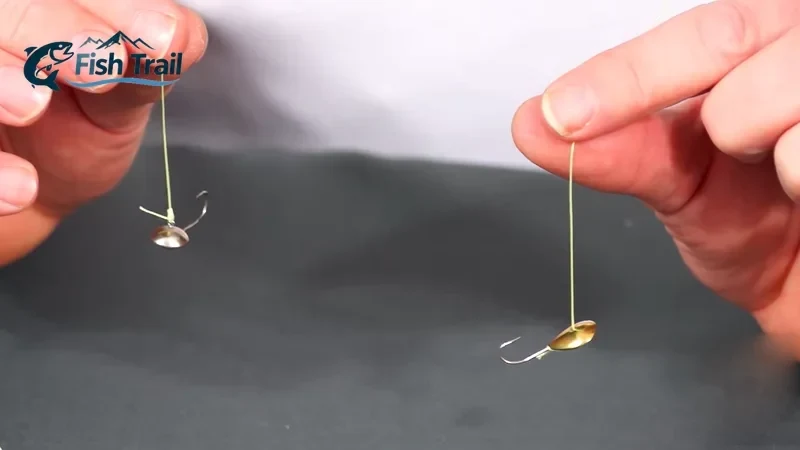
After tying the knot, hold the lure by the standing line and check its position. Depending on its design, a mormyshka may be intended to hang horizontally, at an angle, or almost vertically. If it hangs differently from the intended position, check that the line was threaded correctly and that the knot has seated properly.
The hanging angle can influence how the lure moves when jigged, so it is worth checking before lowering it into the water. A well-presented mormyshka is only part of successful winter fishing. When targeting bream, understanding how to recognise bream bites in winter can help you detect even the most delicate takes.
Choose a Knot That Suits Your Line
The simple clinch knot works well with many monofilament lines, but no fishing knot performs equally well with every material and diameter. Some very smooth or slippery lines, particularly certain braided lines, may not grip securely with a basic five-turn clinch knot.
If you change line type or diameter, test the connection carefully. A different knot or number of wraps may be more suitable.
Inspect the Knot After Catching Fish
A knot that was secure at the start of a session may become damaged through repeated catches, contact with ice, or rubbing against the lure.
Check for flattened, rough, or visibly weakened sections of line near the mormyshka.
If you notice any damage, cut off the affected section and retie the lure rather than risking a breakage.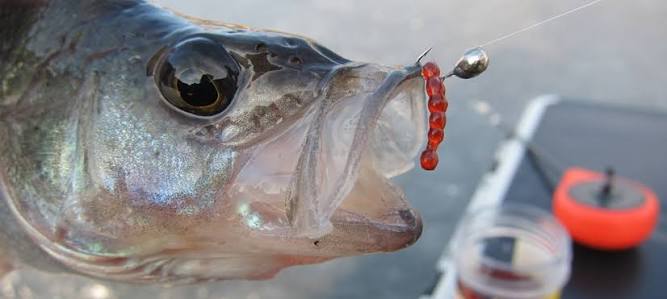
Common Mistakes When Tying a Mormyshka
Even a simple knot can fail if it is tied carelessly. The following mistakes are worth avoiding:
- Threading the line from the wrong direction. On a through-body mormyshka, this may affect how the lure hangs and how the line contacts its body.
- Allowing the wraps to cross. Untidy coils may tighten unevenly and weaken the connection.
- Tightening without moisture. Dry friction can damage fine fishing line.
- Using the same knot for every line. A basic clinch knot may slip on some slippery or braided materials.
- Cutting the tag end too close. Trimming the line completely flush leaves little margin if the knot settles or slips.
- Ignoring rough edges. A sharp hole can damage the line even when the knot itself is perfectly tied.
If you are learning these methods for the first time, practise a few times at home using a thicker, brightly coloured piece of line. Once the movements become familiar, repeating them with fine fishing line will be much easier.
Final Thoughts
There are many ways to tie a mormyshka to fishing line, but you do not need to memorise dozens of complicated knots to get started. The simple clinch knot provides two practical solutions: one for a mormyshka with a through-body hole and another for a lure with a visible eye.
Learn to make neat wraps, thread the line correctly, moisten the knot before tightening, and check the finished connection. A few extra seconds spent tying your mormyshka properly can save you from losing both the lure and the fish. With your lure securely attached, our guide to catching perch through the first ice explains where to find feeding fish and when to switch from a balancing jig or spoon to a mormyshka.
Tight lines!