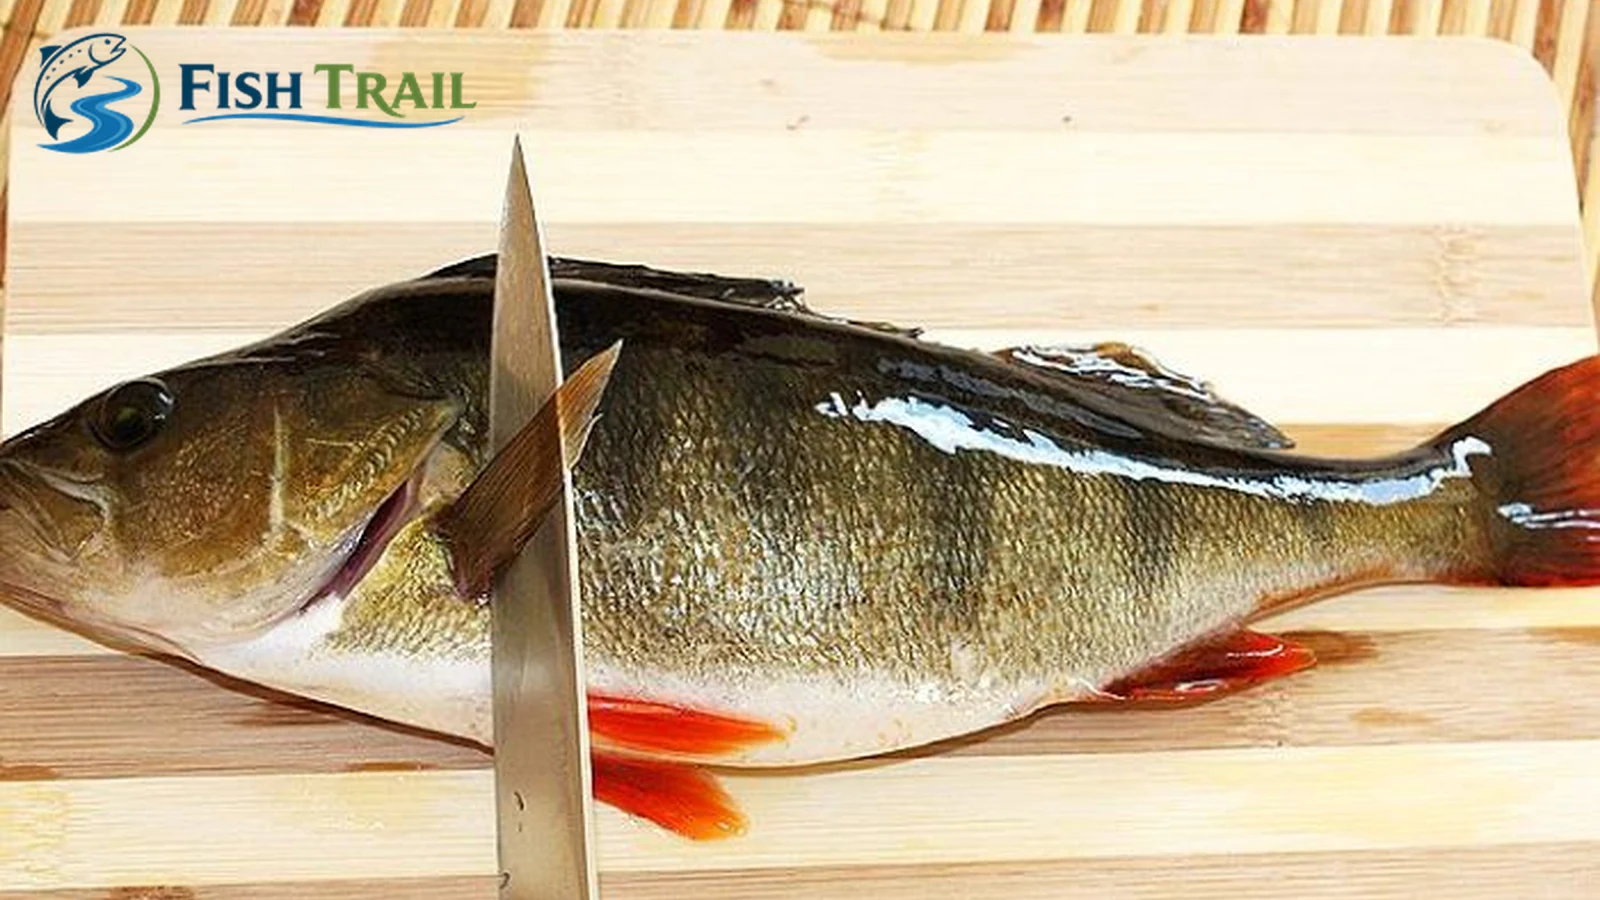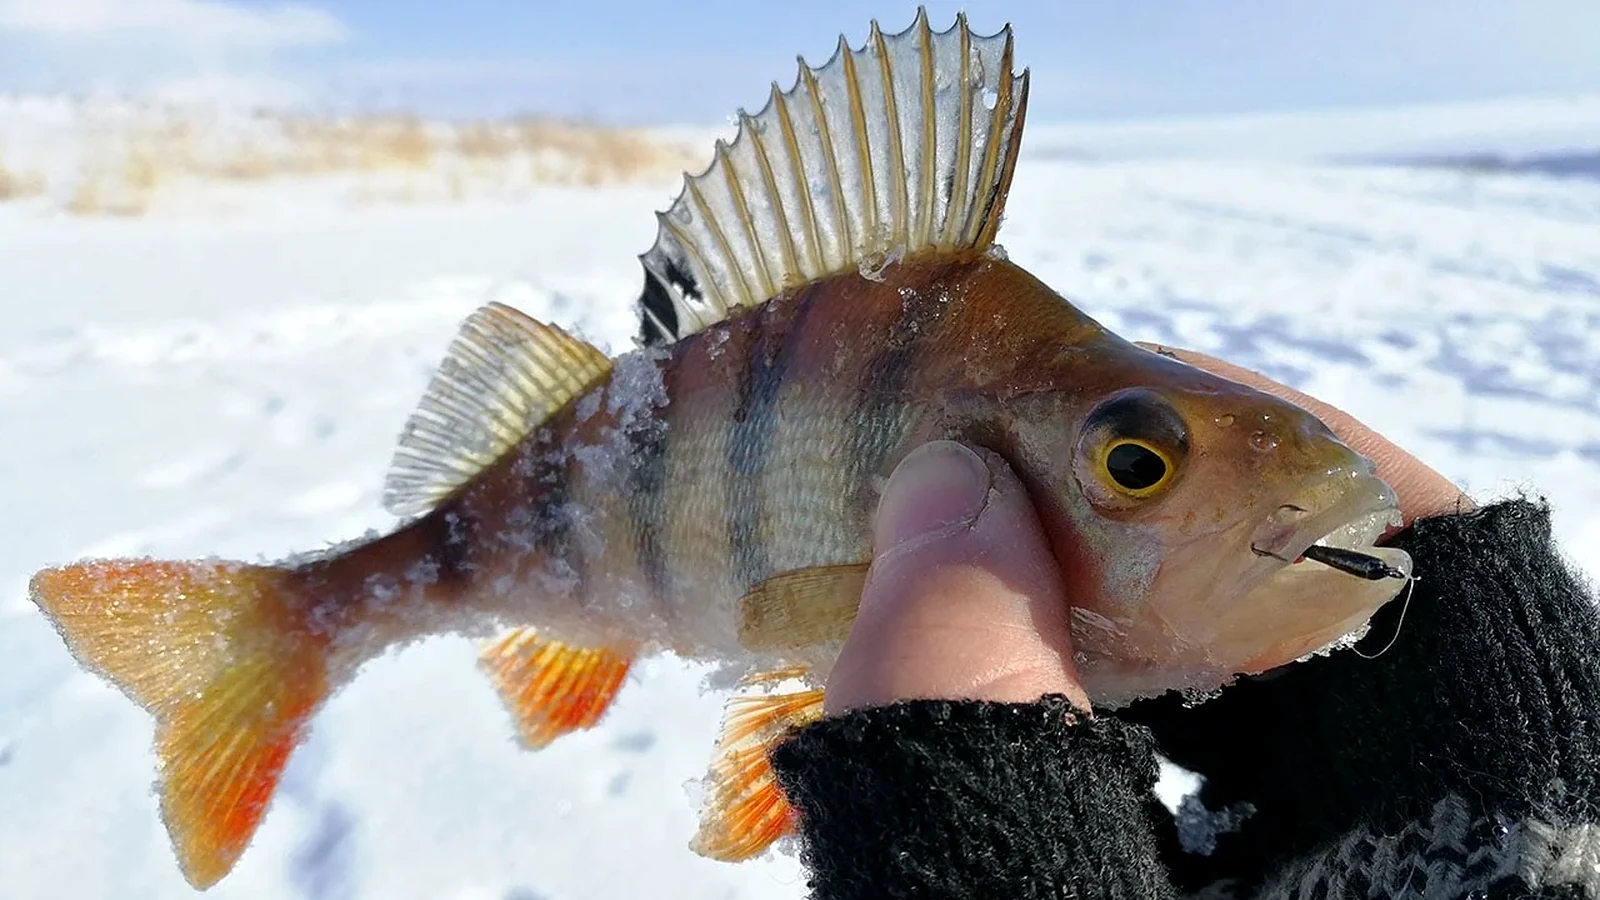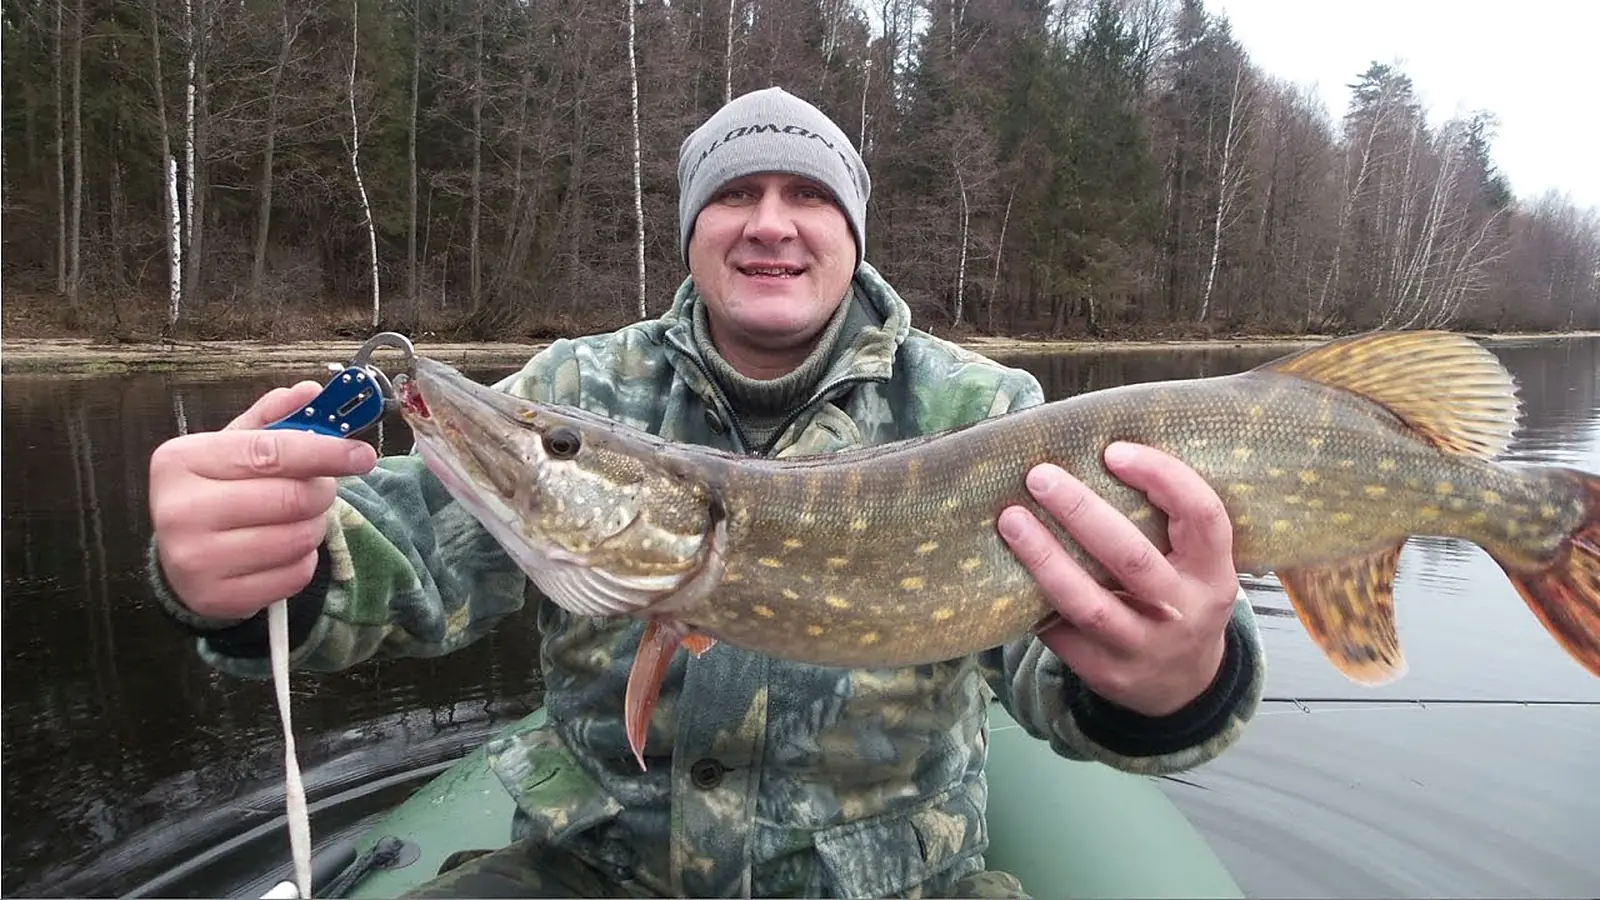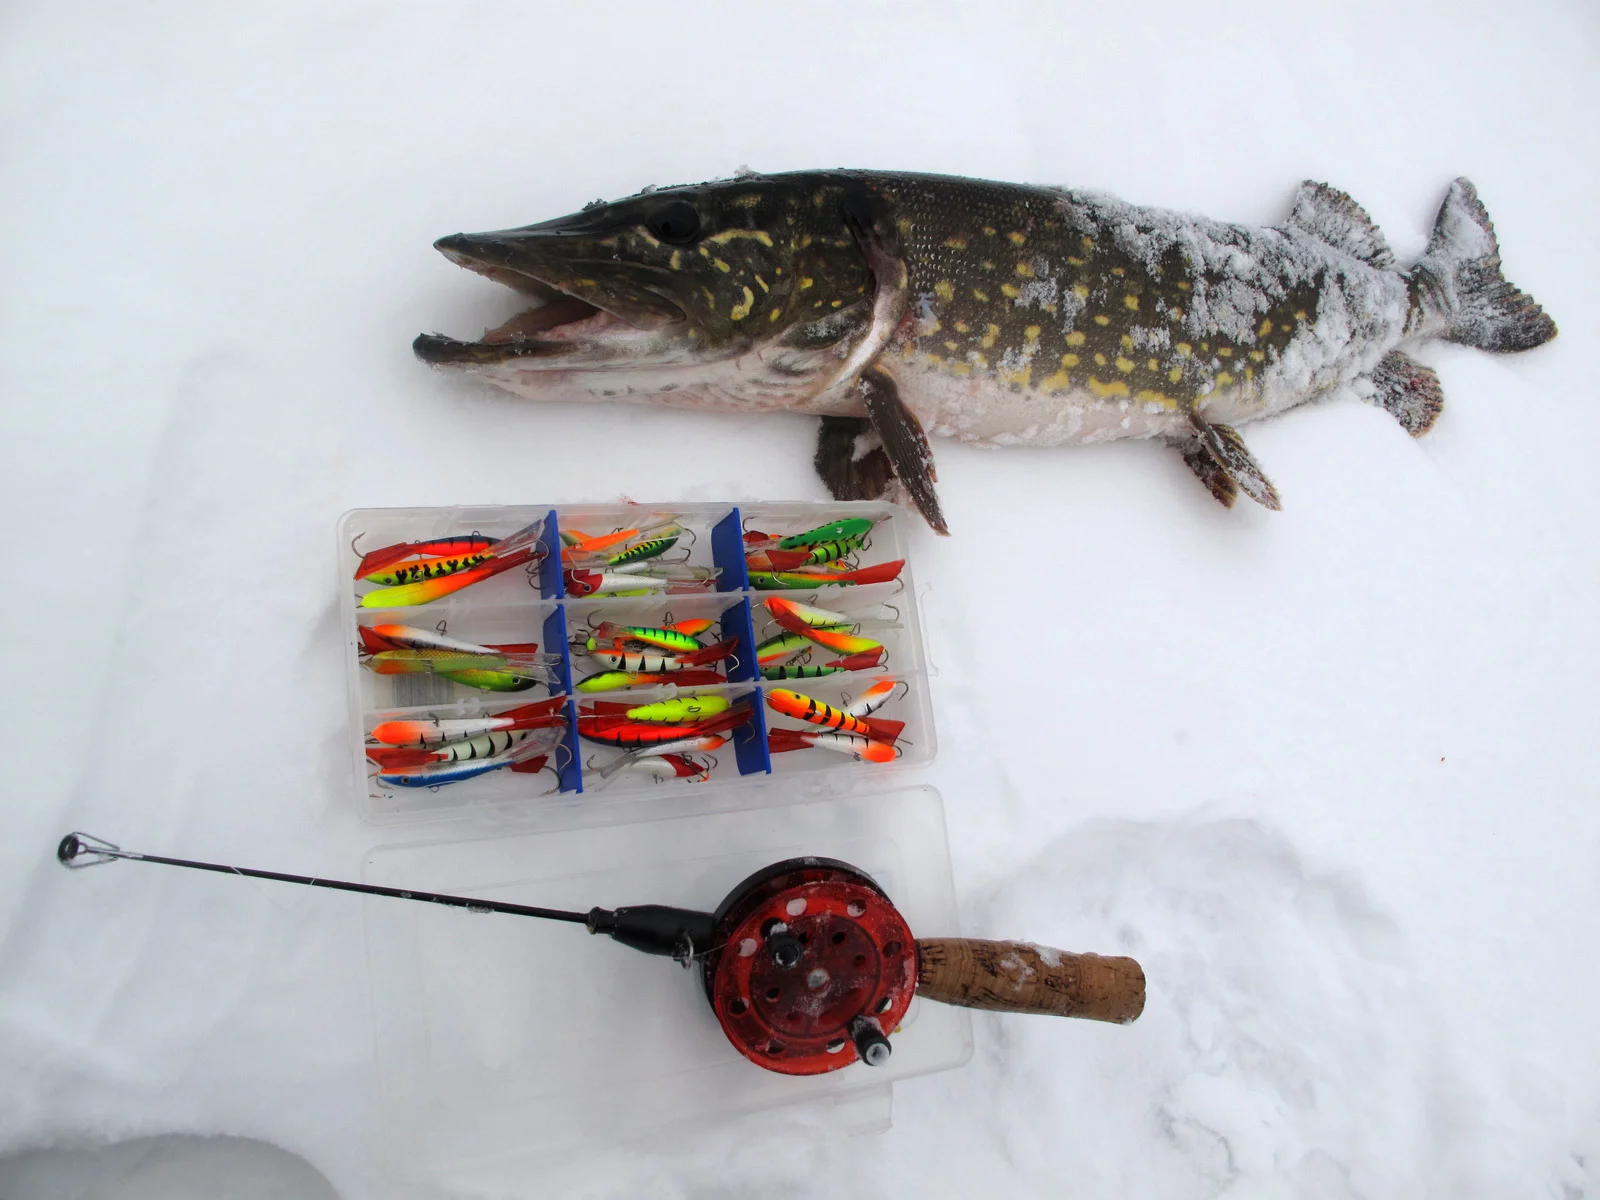
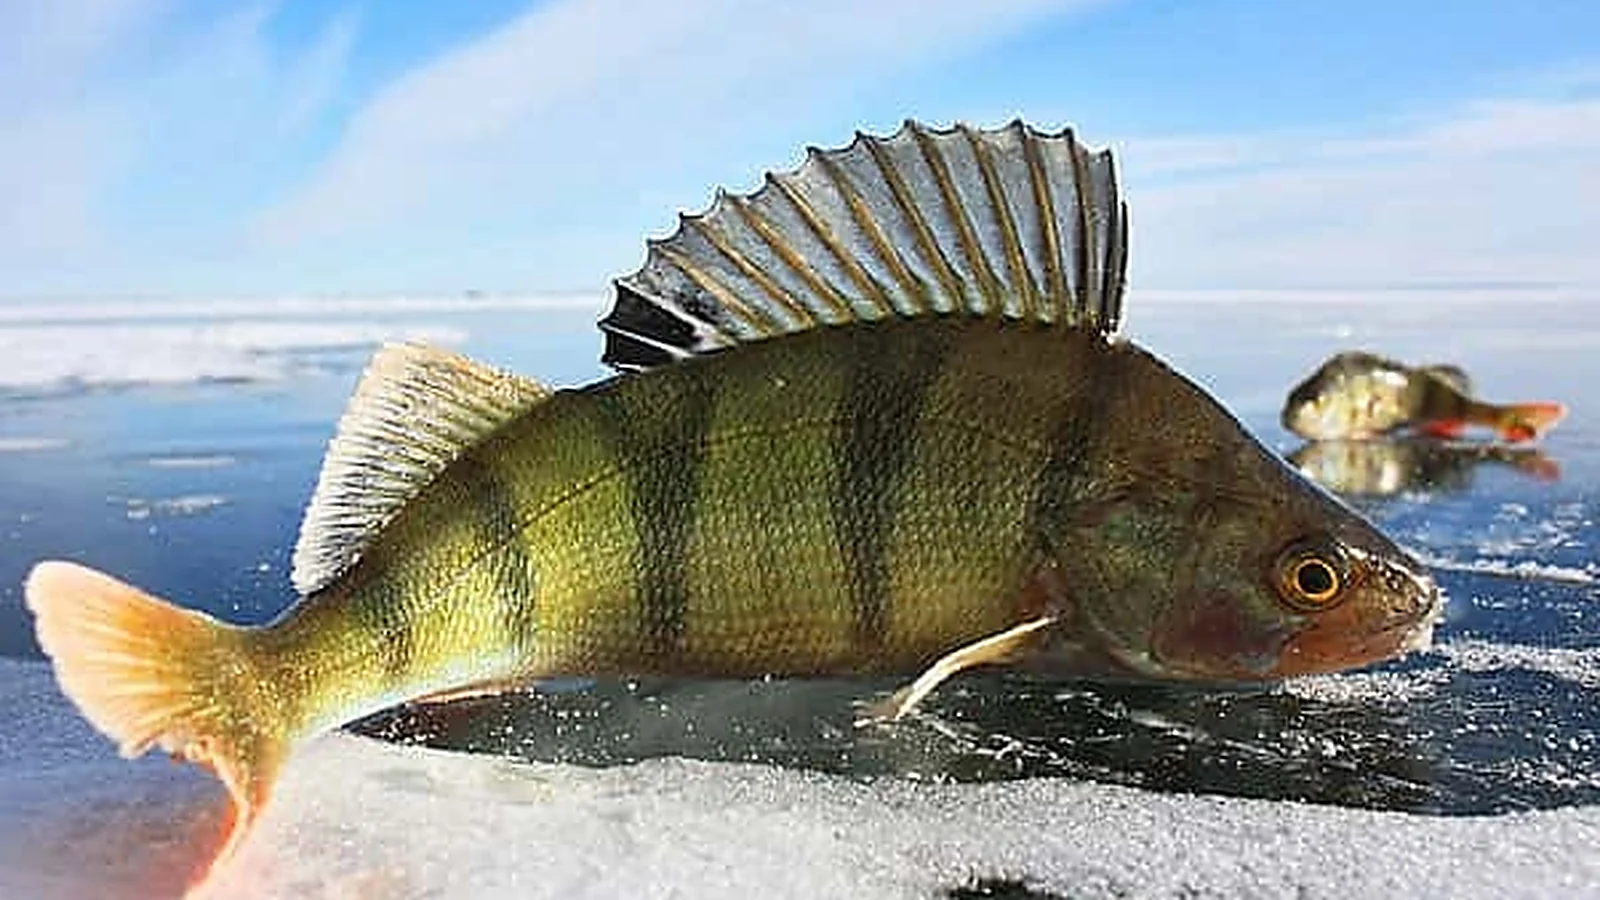
A small metal spoon disappears beneath the ice. The angler gives it a few lifts, feels a sudden knock and brings up a young pike. Not quite the fish he was hoping for. He changes to a compact balance jig, drops it into the next hole and, before he can even begin working the lure, something grabs it. This time, it’s a beautiful striped perch.
The next drop produces another. Then another. Within minutes, a quiet winter morning has turned into the kind of fishing session that stays in your memory for years.
That’s the excitement of first ice perch fishing. Once you locate an actively feeding shoal, the action can be remarkably fast. But finding that shoal is the real skill, and the difference between a handful of fish and a memorable session often comes down to which holes you drill, how you work your lure and when you decide to move.
This guide focuses on the European perch (Perca fluviatilis) found across Britain and mainland Europe, particularly the lakes and sheltered waters of Finland, Sweden, the Baltic region and other areas where winter ice fishing is established. We’ll cover where to search, how to catch perch through the ice with balancing jigs, vertical spoons and mormyshkas, and what to do when the fish suddenly stop biting.
Why First Ice Is Such an Interesting Time to Catch Perch
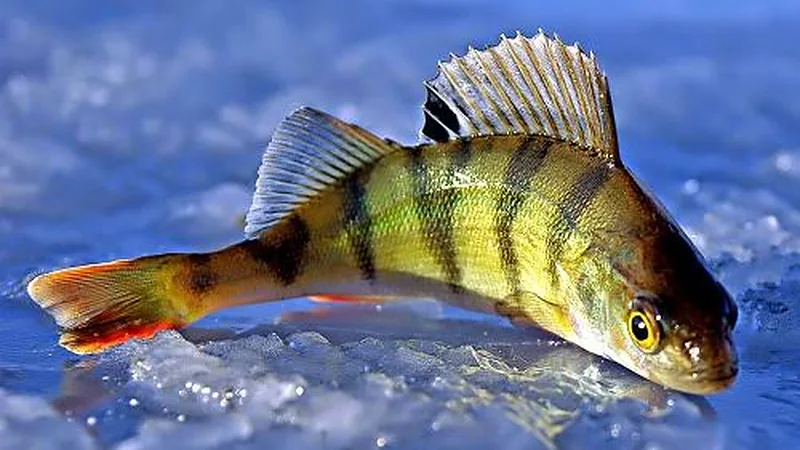 The first weeks of ice cover mark an important change in the underwater world. The lake is sealed off from the wind, temperatures settle into their winter pattern and the available light begins to change. Perch must continue finding food, and the places they used in late autumn often provide the best clues to their early-winter locations.
Perch are highly visual predators, but they also feed on insect larvae, small crustaceans and other invertebrates. Smaller fish often gather in shoals, while larger perch increasingly make use of small fish as prey. Both types can be caught through the ice, although the most productive lure and location won’t always be the same.
What makes the early season particularly rewarding is the chance to find feeding fish before the deep-winter pattern becomes established. A shoal holding along a weed edge or underwater slope may respond eagerly to a lure lowered into its path. At the same time, perch that moved towards deeper water during late autumn can remain there after freeze-up. Assuming that every fish will be waiting in the shallows is a common mistake.
Instead, think of first ice as the continuation of late autumn. The best places to begin are those where perch were feeding before the lake froze, especially where cover, suitable bottom structure and changing depths come together.
Where to Find Perch Under the First Ice
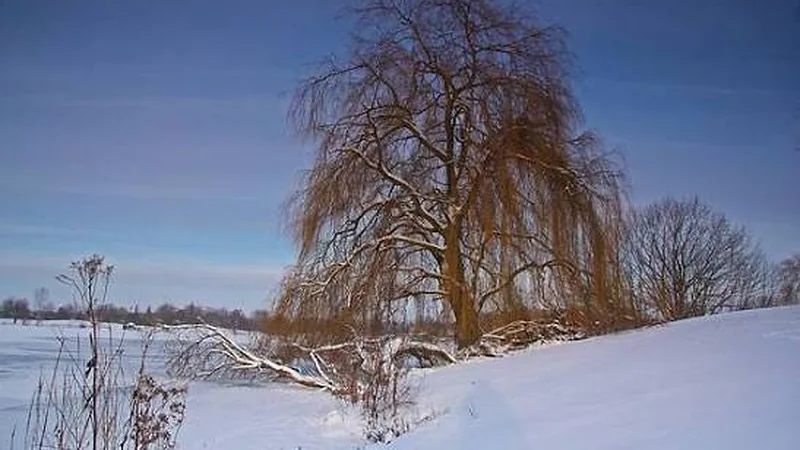 Finding perch begins with reading the water, even when the entire surface looks identical beneath the ice.
On a familiar lake, remember where you last caught perch during autumn. A productive shoreline, submerged point or drop-off is an excellent starting reference. On unfamiliar water, use a depth map to identify features before your trip and plan a search route that stays within an independently assessed safe ice area.
Reed beds and the edges of remaining weed are worth investigating, particularly in smaller lakes. Insects and small fish use these areas for cover, and perch patrol the outer boundaries. Begin around 1.5–3 metres where the vegetation meets clearer water, provided that depth exists at your chosen venue. Don’t concentrate all your holes directly among dense stems. The open-water side gives you room to work a lure and makes it easier to follow a shoal moving along the edge.
Underwater slopes and deeper margins are the next places to examine. A bottom descending from 2 to 5 metres offers several potential feeding levels in a small area. Drill along the contour as well as across it. If you find perch at 4 metres, the next useful hole is often at a similar depth rather than directly above the deepest part of the lake.
On larger, clearer lakes, early-winter perch may already be holding in 4–8 metres or deeper, especially near underwater humps, rocky banks and the edges of basins. Depth alone doesn’t make a spot productive. Look for a feature that concentrates prey or creates a useful transition between shallow and deep water.
Rocky patches and firm-bottomed areas also deserve attention. Perch regularly hunt around stones, submerged wood and changes in bottom composition. A small rocky rise surrounded by a softer bottom can be worth far more than a wide, featureless flat.
For anglers targeting bigger perch, the outer edges of feeding areas are especially interesting. A shoal of small perch might occupy a shallow shelf while larger fish patrol the nearby drop-off. Catching several small fish tells you that you’ve found a productive area; it doesn’t mean you have to keep fishing exactly the same hole.
The important lesson is simple: search the features and the depth changes, not just the deepest or shallowest water available.
How to Find a Feeding Shoal of Perch
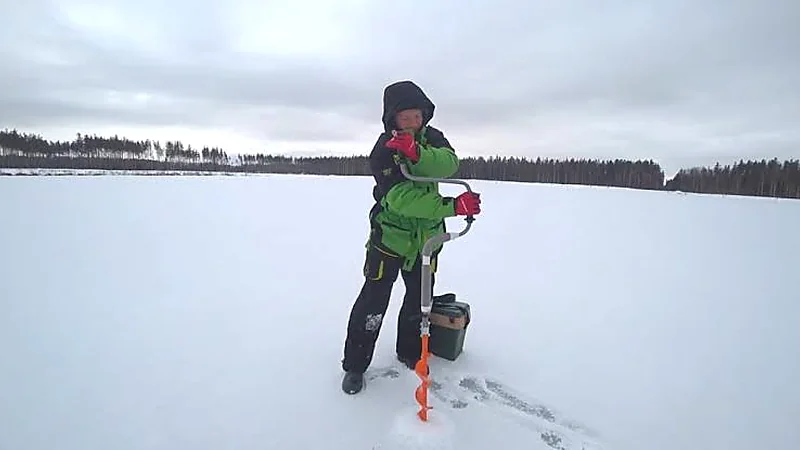 Perch ice fishing rewards anglers who cover water intelligently. On a large lake, drilling random holes and hoping for the best can waste most of the day. A structured search gives you useful information even when the first few holes produce nothing.
Before starting, make sure the area and route have been assessed as safe for ice travel. Then choose a feature you can investigate without approaching questionable ice.
Here’s a practical approach for a small or medium-sized lake:
- Start near a known autumn perch location. Choose a reed edge, underwater point or slope with access to more than one depth.
- Drill a short line of holes, typically 5–10 metres apart, across the feature. For example, your holes might cover approximately 2, 3, 4 and 5 metres of water. These are search depths, not a rule for every lake.
- Fish each empty hole for around one or two minutes. Begin close to the bottom, make several controlled lifts and pauses, then check slightly higher in the water. If nothing responds, move on.
- When you catch a perch, fish that hole again immediately. A second fish or repeated bite often means you’ve found a shoal.
- If the bites stop, explore the surrounding area. Drill another hole at a similar depth, or try a nearby position along the same bottom contour.
The first successful hole is only the beginning. Imagine catching four perch at a depth of 3.5 metres before the action suddenly disappears. Instead of immediately moving into 7 metres, investigate the same depth a little farther along the bank. The fish may have shifted sideways while continuing to feed over the same feature.
Keep a mental note of every productive depth and location. Better still, mark them on your phone’s map or fishing GPS. On an unfamiliar lake, these small observations gradually reveal where perch prefer to travel.
A portable ice-fishing sonar or flasher can make the search considerably faster. It shows your lure and helps identify fish holding above the bottom, following the bait or refusing to strike. It’s a useful advantage, but not essential. Careful depth measurements, repeated bites and a disciplined search pattern can tell you a great deal without electronics.
There is one more detail worth remembering: perch don’t always feed directly on the bottom. Start roughly 20–40 cm above it, but check higher if you see fish on sonar, experience takes during the descent or stop getting bites near the lake bed. A feeding shoal can move through several levels of the water column.
Best Lures for First Ice Perch Fishing
You don’t need a large collection of expensive winter lures to catch perch. Three types will handle most early-season situations: balancing jigs, vertical spoons and mormyshkas.
The important thing is understanding what each lure does well. A balance jig is an excellent searching lure, a metal spoon offers a different flashing, falling action, and a mormyshka is particularly effective when fish are feeding on smaller food or refusing larger presentations.
Balancing Jigs: A Favourite for Active Perch
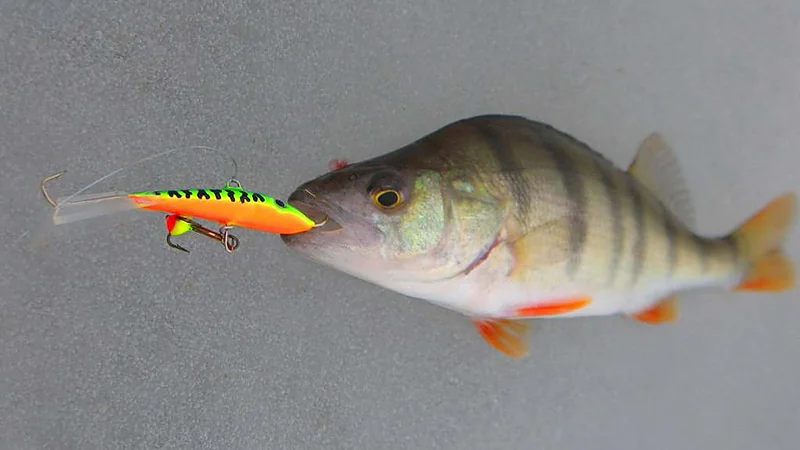 A balancing jig, sometimes called a balance lure, hangs horizontally and darts away from the centre of the hole when lifted. Its movement resembles a small fish trying to escape, before slowing and turning back.
For general first ice fishing, start with a balance jig around 3–5 cm long. This size is easy for ordinary perch to attack yet large enough to attract fish from a reasonable distance. On waters known for substantial perch, carry 5–7 cm models as well. A bigger lure is especially useful when you want to explore a feeding area without being constantly interrupted by the smallest fish.
Natural perch, roach and silver patterns are good starting choices in clear water. Gold, orange and brighter contrasting colours deserve a try when visibility is poor. However, how the lure moves through the water is often more important than its colour.
Lower the jig until it reaches the bottom, then raise it approximately 20–30 cm. Make a controlled upward stroke of another 15–30 cm and let the lure glide back naturally. Once the line settles, pause for a few seconds before repeating.
The pause matters. A balance jig needs time to complete its sideways movement, and perch often strike just as it slows down. Constantly jerking the rod can spoil that action and leave little opportunity for a fish to take the lure cleanly.
Begin with three or four lifts at a comfortable rhythm. If nothing happens, make a slightly more energetic stroke or extend the pause. Occasionally raise the lure another half-metre and repeat the sequence.
One of the most exciting first ice bites comes on the very first drop. A perch may intercept the jig as it descends, leaving the line slack or stopping it before it reaches the expected depth. Watch the line carefully and keep contact with the lure rather than letting it fall uncontrolled.
Vertical Spoons: Simple, Fast and Effective
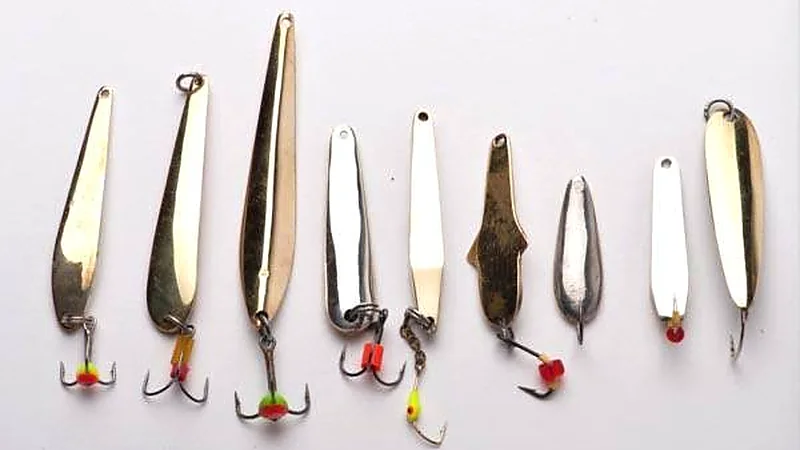 A small vertical spoon is another excellent choice for perch ice fishing. Unlike a balance jig, which darts sideways, a vertical spoon usually flashes, flutters or swings as it falls. Different shapes produce noticeably different actions.
A 3–5 cm winter spoon is a practical general-purpose option. Narrower spoons can descend quickly and work well when you need to reach deeper water, while broader models often create a slower fluttering action. Carrying one of each gives you two genuinely different presentations without filling an entire tackle box.
Start close to the bottom and lift the spoon approximately 15–30 cm. Let it fall on a controlled line and pause briefly before repeating. If the fish are striking aggressively, use a sharper lift and a shorter pause. When they touch the spoon without taking it properly, reduce the movement and allow it more time to settle.
Many traditional European winter spoons carry a small coloured hook or attractor beneath the body. These can give perch a clear point to attack. Check that the hook arrangement remains appropriate for the lure and complies with local rules.
Vertical spoons are especially useful when fish respond to flashes and falling movements but refuse the wider glide of a balance jig. Rather than changing colours repeatedly, try switching between these two lure actions first.
Mormyshkas: Small Lures for Delicate Bites
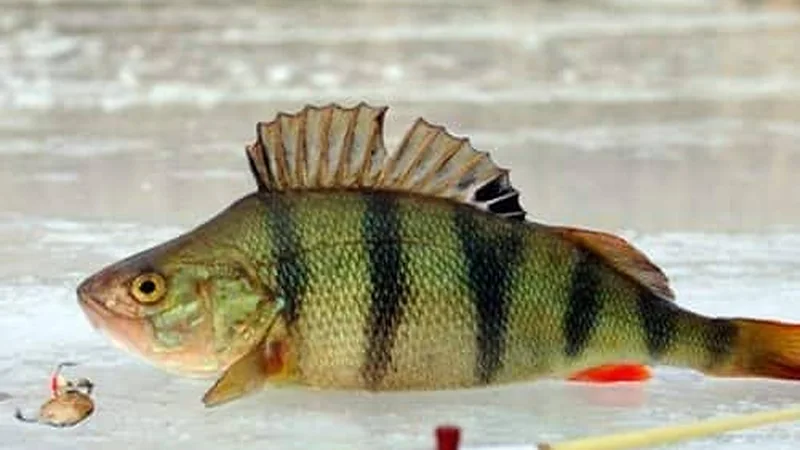 A mormyshka is a tiny weighted lure with an integrated hook, used widely in European winter fishing. Unlike the soft-plastic micro jigs familiar to spinning anglers, it is designed to be worked vertically with subtle movements.
A small tungsten mormyshka around 2–4 mm is a good starting point for perch. Tungsten allows a compact lure to sink efficiently, making it particularly useful when fish want a small presentation.
You can fish a mormyshka on its own or tip it with a bloodworm or a small maggot where permitted. The natural bait adds a familiar taste and movement, which can help when perch are feeding on insect larvae rather than chasing small fish.
Lower the lure near the bottom and begin with fine movements of the rod tip. Instead of broad lifts, use a gentle trembling action while slowly raising the mormyshka through 20–50 cm of water. Stop occasionally and watch the spring nod. A bite may appear as a downward bend, a sideways movement or even an unexpected upward lift.
Fine monofilament and a sensitive nod make a considerable difference here. A mormyshka that feels lifeless on heavy line becomes much easier to control on properly balanced light tackle.
If you’re new to this method, our guide on how to tie a mormyshka to fishing line explains how to attach through-body and eyed designs correctly.
A useful combination is to begin with a balance jig or spoon to locate active perch, then switch to a mormyshka when the shoal remains nearby but stops attacking the larger lure.
Choosing the Right Ice Fishing Tackle for Perch
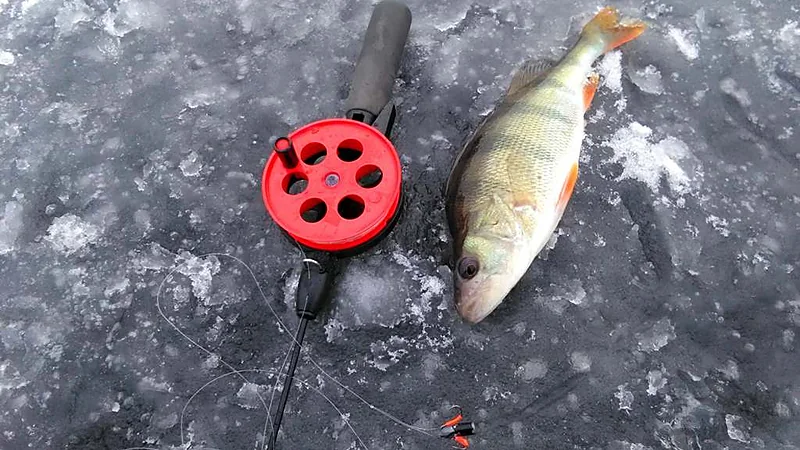 Perch don’t require heavy equipment, but the rod, line and lure must work together. An overly stiff rod combined with thick line can make small lures difficult to control and subtle takes almost impossible to detect.
For balancing jigs and small winter spoons, a short ice rod of roughly 25–45 cm with a responsive tip offers good control. A small reel makes changing depth straightforward, although simple hand-line-style winter rods are also widely used. Choose enough backbone to work the lure cleanly without losing sensitivity.
Monofilament around 0.14–0.18 mm is a sensible general starting range. For larger balance jigs, heavier lures or bigger fish, move towards 0.18–0.22 mm as appropriate. Monofilament is particularly convenient in freezing weather because it is manageable and provides some stretch when a fish surges close to the hole.
For delicate mormyshka fishing, use a much lighter setup. Line around 0.10–0.14 mm, matched to the lure’s weight, helps it move naturally. A small spring nod or similarly sensitive bite indicator is particularly valuable when working tiny baits.
You will also need an ice auger suitable for the expected fish and ice conditions, a skimmer to clear slush and a means of measuring depth. A hole diameter around 110–130 mm is useful for ordinary perch fishing, although the appropriate auger depends on the fishery and the species you may encounter.
Keep your main lures, spare line and tools accessible. Changing a damaged knot or replacing a lure is much easier before your hands become cold and stiff.
When Do Perch Bite Best Under the Ice
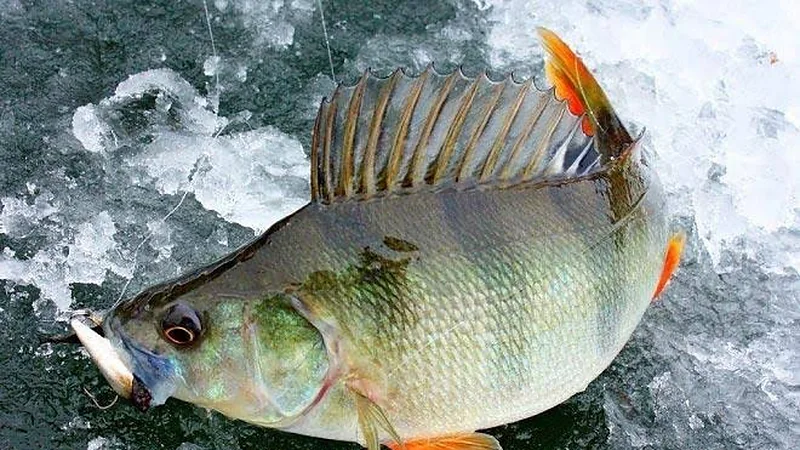 Perch are predominantly daylight feeders, so the morning and the later part of the afternoon are good periods to prioritise. In northern Europe, where winter daylight is short, these feeding windows can be compressed into a relatively small part of the day.
That doesn’t mean you should abandon the lake at midday. Perch can feed well during the middle of the day, especially when there is enough light beneath the ice for them to locate prey. Water clarity, snow cover and the depth of the shoal all affect the light available to the fish.
On clear ice with little snow, relatively strong light can penetrate the water. Once snow accumulates, the underwater environment becomes darker. In either situation, focus on finding fish rather than relying entirely on the clock.
Pay attention to the way bites develop during a session. Several immediate strikes followed by a sudden lull often indicate that the shoal has changed position, moved to another depth or become less responsive to the lure. Before leaving a productive area, check slightly higher and lower in the water, then try a different presentation.
An early morning session gives you time to establish where the fish are holding. Once you know the productive depth and bottom feature, you can return to nearby positions throughout the day instead of beginning the search from scratch.
How to Catch More Perch Once You’ve Found Them
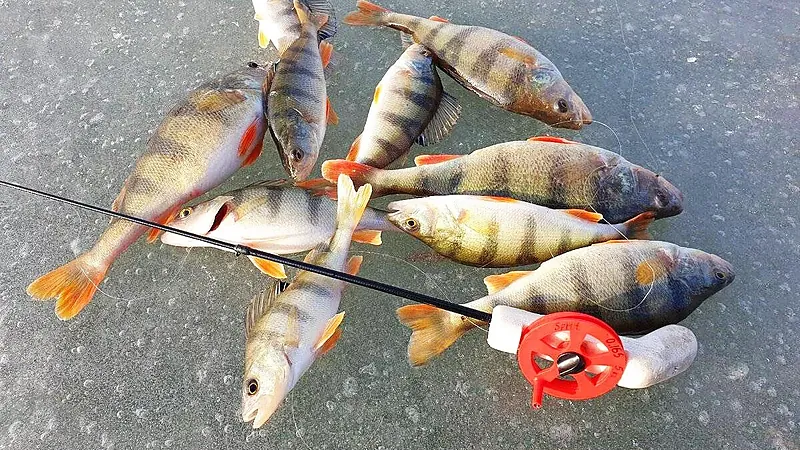 Finding a shoal is exciting, but keeping in contact with it is what produces a really good session.
After landing a perch, unhook it efficiently and lower the lure back to the same depth. If the fish are competing for food, the next take can happen almost immediately. Spending several minutes changing lures or rearranging equipment between fish may cost you that feeding opportunity.
When bites slow down, resist the urge to make increasingly violent movements with the rod. First repeat the presentation that worked. Then change one thing: shorten the pause, lift the lure slightly higher or switch from the balance jig to a small spoon. If the fish are still present but not striking properly, try a smaller mormyshka.
For larger perch, consider the size of fish you’ve been catching. If a shallow hole produces nothing but small specimens, examine the outer edge of the same area or the next deeper part of the slope. Larger perch often make use of nearby feeding routes, and a slightly larger balance jig can help you target them more deliberately.
Remember that a productive location can recover after a quiet spell. You don’t need to remain over the same hole waiting for the bite to return, but it is worth revisiting a successful part of the lake after exploring nearby water.
This is the real value of an organised search. Every fish tells you something about the location, depth and presentation that worked. Use that information to decide where the next hole should be.
What to Change When Perch Stop Biting
An unproductive hole is not necessarily an unproductive lake. What matters is recognising whether you need to change the lure or find the fish again.
No bites in the first two minutes? Move to the next planned hole. Check a different depth or continue along the bottom feature rather than repeatedly working empty water.
Small taps but no hooked fish? Reduce the size of the lure, check that the hook is unobstructed and introduce a longer pause. A small spoon or mormyshka can be much easier for hesitant perch to take.
Fish appear on sonar but won’t strike? Try a controlled lift followed by a stationary pause. If they rise towards the lure and turn away, reduce its movement or present a smaller bait.
You catch two or three perch and then nothing? Check the same depth in a neighbouring hole. A mobile shoal can shift a short distance while remaining on the same underwater feature.
Only tiny perch are biting? Move towards the edge of the shoal, explore the nearby drop-off or use a slightly larger balance jig. Don’t assume that a large lure will automatically produce a large fish, but give bigger perch a chance to intercept a more substantial presentation.
The mistake to avoid is changing everything at once. If you change both location and lure after every unsuccessful drop, you learn very little. Make deliberate adjustments and remember which ones actually produce bites.
First Ice Safety and Fishing Rules in Europe
First ice offers exciting fishing, but the first appearance of a frozen surface does not mean the lake is ready to fish.
Ice develops unevenly. Moving water, inlets, outlets, springs, bridges and other local features can create weak areas that are difficult to recognise from the surface. Snow can hide dangerous sections and make conditions harder to assess. A single thickness measurement is not enough to establish the safety of an entire route.
Before heading out, confirm that ice access is permitted and that reliable local assessments support travel in the area you intend to fish. Follow recognised local safety guidance, carry ice picks, suitable flotation equipment and a throw line, and travel with a companion. Make sure someone knows your route and expected return. Do not attempt to cross unfamiliar or doubtful ice.
In Britain, natural ice generally presents different conditions from the established winter fisheries of Finland, Sweden and parts of the Baltic region. The Royal Life Saving Society UK advises against venturing onto frozen water. British anglers should not treat continental ice-fishing practices as permission to fish frozen local lakes or canals.
Fishing regulations also vary. Finland generally allows simple ice fishing with one rod under general fishing rights, but restrictions apply to certain waters, and additional rods or methods may require permission. Elsewhere, permits, hook rules, protected areas and catch limits depend on the country and fishery. Check the specific rules before you travel.
Finally, handle your catch carefully in freezing temperatures. Keep fish away from direct contact with ice or snow where possible, use wet hands when handling them and return fish promptly when releasing them. A perch intended for release should not be left exposed on the ice while you prepare the next hole.
The Best First Ice Sessions Begin with a Good Search
There’s something special about watching a winter lure disappear beneath the ice, feeling that first sharp knock and seeing the unmistakable dark stripes of a European perch rise through the hole.
The most successful approach isn’t complicated. Begin near productive autumn locations, search reed edges and depth changes, and move steadily until you locate feeding fish. Use balancing jigs and spoons to cover water, bring out a small mormyshka for more delicate presentations, and pay close attention to the depth where the fish are biting.
When the first perch takes your lure, don’t be in a hurry to leave. That one fish may be the clue that leads you to an entire shoal.
And sometimes, just as in those unforgettable first ice fishing sessions, the next perch will grab the lure before you’ve even had a chance to move the rod.
Tight lines!